
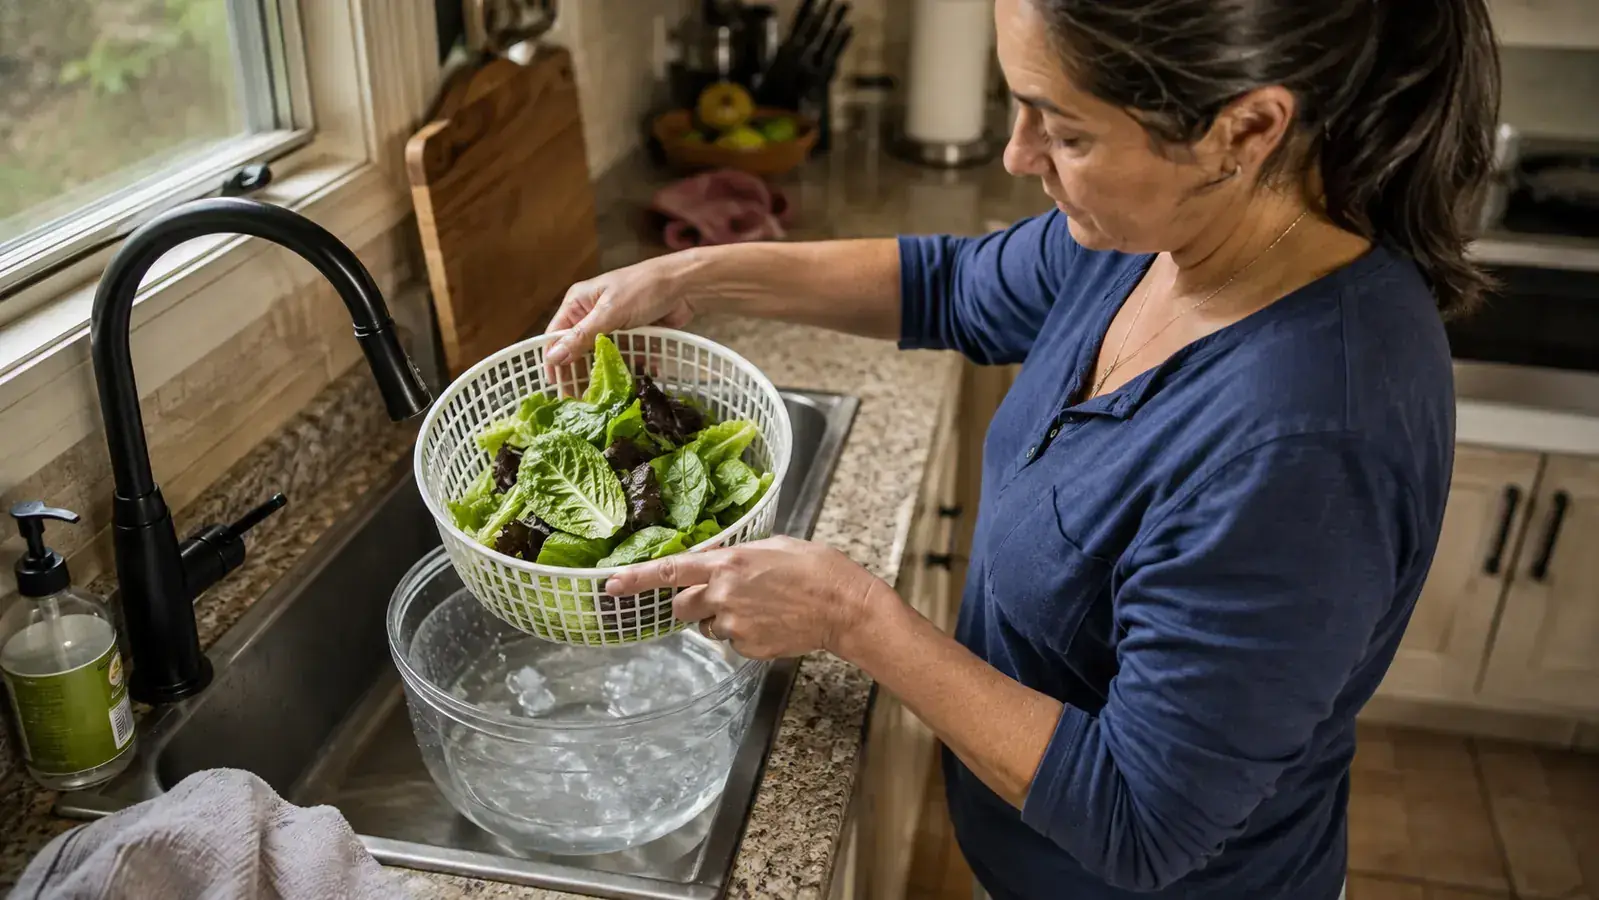
A salad spinner is the whole trick here. For years my go-to method for washing salad greens was a colander, a lot of shaking, and a dish towel I'd wrap the whole mess in and pat down until my counter looked like a laundry day gone wrong. It worked, sort of, but half my lettuce ended up bruised from the wringing and the other half was still wet enough to turn my vinaigrette into a puddle at the bottom of the bowl. What actually fixed it wasn't a better colander or a better towel, it was switching to a salad spinner and using it the right way, which took me embarrassingly long to figure out.
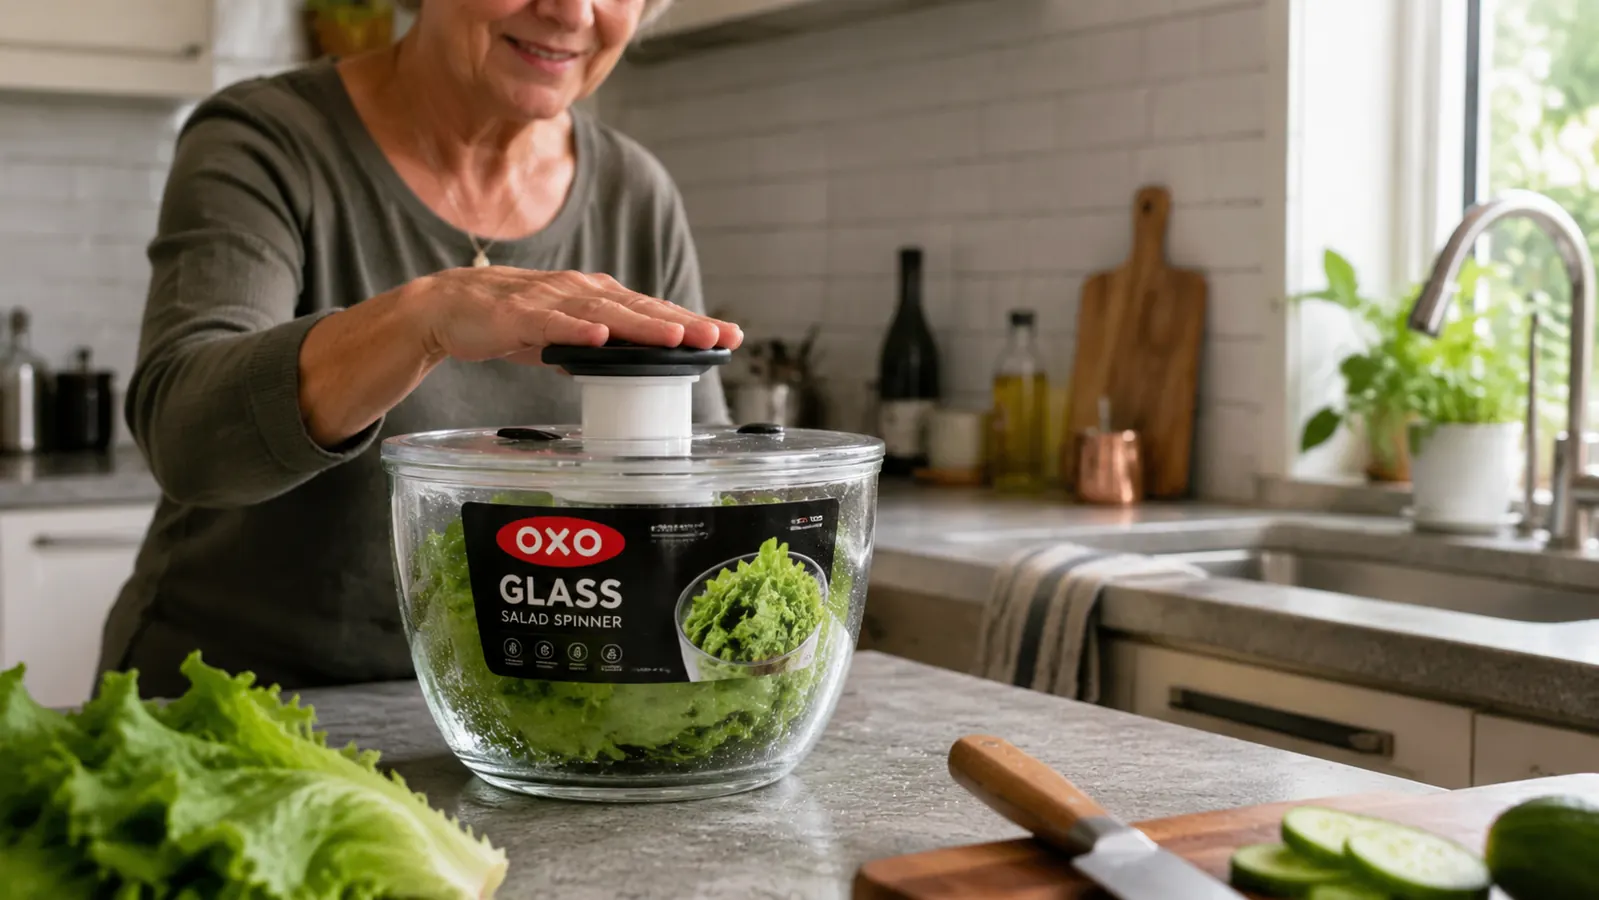
This is the exact process I use now, from the produce drawer to the salad bowl, using an OXO Good Grips glass salad spinner with a 6.22-quart bowl. You don't need this specific spinner to follow along, any salad spinner with a working pump or crank mechanism will get you through these same five steps, just know that the size of your bowl changes how many batches you'll need to run. Nothing here is complicated, but the order you do things in matters more than most people expect, and getting it right is the difference between crisp greens that keep for a week and a soggy mess you have to eat the same day or toss.
I started paying attention to this process once I noticed how much lettuce I was throwing away halfway through the week. A bag of spring mix that goes limp and slimy by Wednesday isn't a produce problem, most of the time it's a drying problem, and it's the kind of thing that's easy to fix once you see what's actually happening at the leaf level. None of this requires special skill, just a spinner and a few habits around when and how you use it.
Stop drowning your salad in the water you never spun out
A wet leaf is a leaf where the dressing slides off instead of clinging on. This is the OXO spinner that finally got my greens actually dry.
Amazon Check Today's Price on Amazon →Step 1: Sort, trim, and check for what needs to be tossed
Before any water touches the greens, I dump the whole head or bag out onto the counter and go through it leaf by leaf. Anything slimy, yellowed, or visibly wilted comes out now, not after washing, because those leaves aren't coming back and washing them alongside good leaves just risks transferring whatever's making them break down faster. For heads of lettuce like romaine or butter lettuce, I pull the leaves apart from the core rather than slicing through the whole head, since the outer leaves near a cut edge tend to brown faster once they've been washed and stored.
Tough stems get trimmed here too. Kale and chard have thick center ribs that don't wash any differently than the leaf, but they take up space in the OXO spinner basket and slow the leaves around them from drying evenly, so I pull them out and either compost them or save them for a soup base. This sorting step takes maybe two minutes and it's the one most people skip when they're in a hurry, but skipping it is how a single bad leaf ends up mixed into an otherwise good batch.
One note on bagged greens specifically. If the bag is labeled ready-to-eat or pre-washed, a second wash at home doesn't make it safer, that labeling means it's already gone through a commercial washing process before it left the facility. I still open the bag and glance through for anything wilted, but I'm not running pre-washed greens through the OXO spinner unless I want the extra crispness, not because they need another rinse.
Step 2: Rinse under cold running water, using the spinner bowl as your basin
This is where the spinner earns its keep beyond just drying. I fill the outer bowl about halfway with cold water straight from the tap, drop the greens into the inner basket, and lower the basket into the water so the leaves are fully submerged. Then I swish the basket around with my hand for ten or fifteen seconds. Cold running water is what you want here, not hot, and not a splash of dish soap or produce wash added to the water. Soap and detergent aren't meant to go on food, and produce isn't like a dinner plate that needs to be sanitized with a cleaning agent, plain water agitation is what actually loosens dirt and grit off a leaf's surface.
For anything gritty, spinach especially, and any greens pulled straight from a garden bed, I lift the basket out, dump the dirty water, and repeat the fill-and-swish once or twice more until the water in the bowl stays mostly clear after swishing. Grit is heavier than the leaves, so it sinks to the bottom of the bowl rather than clinging to the basket, which is the whole reason lifting the basket out before dumping the water works better than pouring everything through a strainer at once. If I poured basket and water out together, I'd just be pouring the grit right back over the leaves on its way down the drain.
I wash right before I plan to use or store the greens, not days ahead and then leave them sitting wet in the fridge. Water sitting against a leaf's surface for an extended period is what speeds up the sliminess and rot that makes greens go bad early, so the goal of every step from here forward is getting the leaves as dry as possible before they go anywhere near a storage container.
Herbs get the same cold-water treatment but usually in a smaller amount. A handful of parsley or cilantro doesn't need the bowl filled halfway, a few inches of water is plenty, and I'll often do herbs in the same batch as a light, delicate green like baby spinach since neither needs a hard spin afterward. Sturdier herbs like rosemary and thyme I mostly skip the spinner for entirely, a quick rinse under the tap and a pat with a towel is faster than loading and unloading the basket for a couple of sprigs.
Step 3: Load the basket loosely, don't pack it
The single biggest mistake I made for years was cramming as many greens into the spinner basket as would physically fit, thinking I was saving time by doing one giant batch instead of two smaller ones. It backfires. When the basket is packed tight, the leaves in the center barely move during spinning because they're pressed against each other, so they come out just as wet as they went in while the outer layer gets thrown dry against the basket walls. Loosely filled, to roughly two-thirds of the basket's capacity, every leaf has room to tumble and actually hit that outer wall where the water gets flung off.
With a bowl this size, I can usually get through a full head of romaine or a standard clamshell of spring mix in two batches rather than three or four, which matters if you're prepping for a crowd or doing a week's worth of salads at once. If you're working with a smaller spinner, plan on more batches. It's a few extra minutes, but it beats pulling out a basket of greens that are still half wet and having to start the spin over.
Step 4: Spin in short bursts and check as you go
I don't spin continuously for thirty seconds straight and call it done. I do it in shorter bursts, five or six seconds at a time, checking the water pooling in the bottom of the bowl between each burst. Once you stop seeing new water collect, you're done, and continuing to spin past that point doesn't dry the leaves any further, it just risks bruising more delicate greens like baby spinach or arugula against the basket walls. Sturdier lettuces like romaine and iceberg can take a longer, harder spin without much damage, but I still treat delicate greens gently.
If your spinner uses a pump mechanism rather than a pull cord or crank, the same rule applies, short controlled pumps rather than one long continuous push. I've found the pump on mine easier on my wrist than the pull-cord spinner I used before it, which matters more than it sounds like it should if you're washing greens several times a week.
I covered how this holds up after months of regular use, including where the pump mechanism has and hasn't slowed down for me, in my longer notes on living with this spinner day to day. Short version here: the drying step is the one that saves the most real time compared to my old towel method, since a towel only ever gets greens surface-dry, not actually dry the way spinning does.
Step 5: Store dry, and only add moisture back right before eating
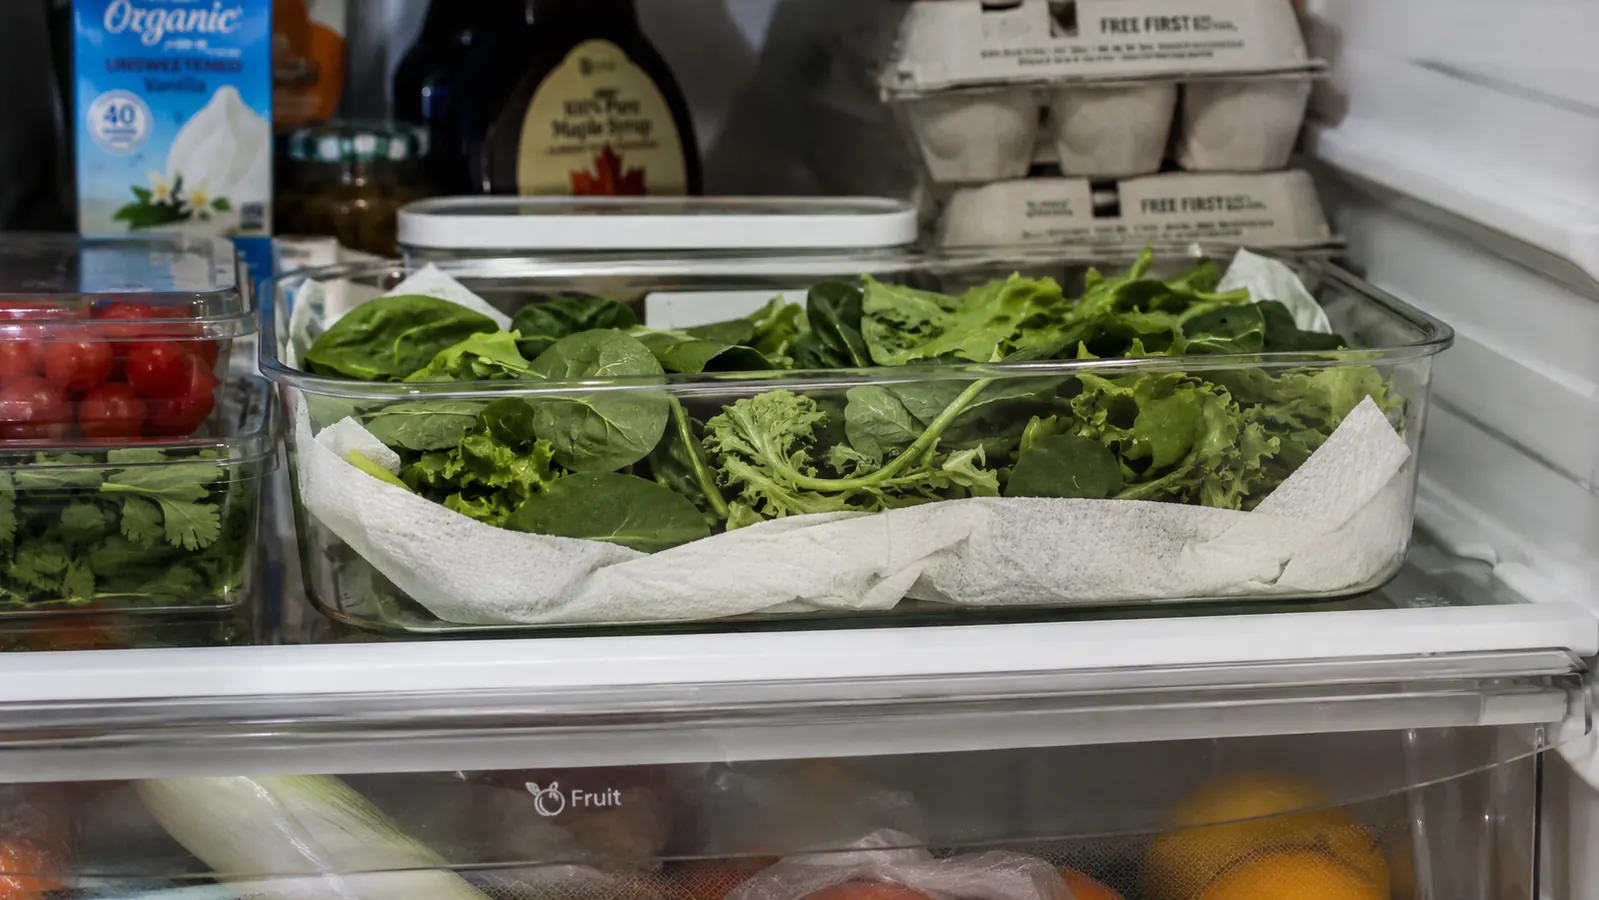
Once the greens are dry, I don't dump them straight into a container. I line whatever I'm storing them in, usually a shallow container with a lid, with a single dry paper towel on the bottom and another loosely on top, then close the lid. The paper towel catches whatever residual moisture the leaves give off as they sit, which keeps that moisture from pooling against the leaves themselves and turning them slimy before I'd otherwise use them. I swap the paper towel out if it gets visibly damp rather than leaving a wet towel in there working against itself.
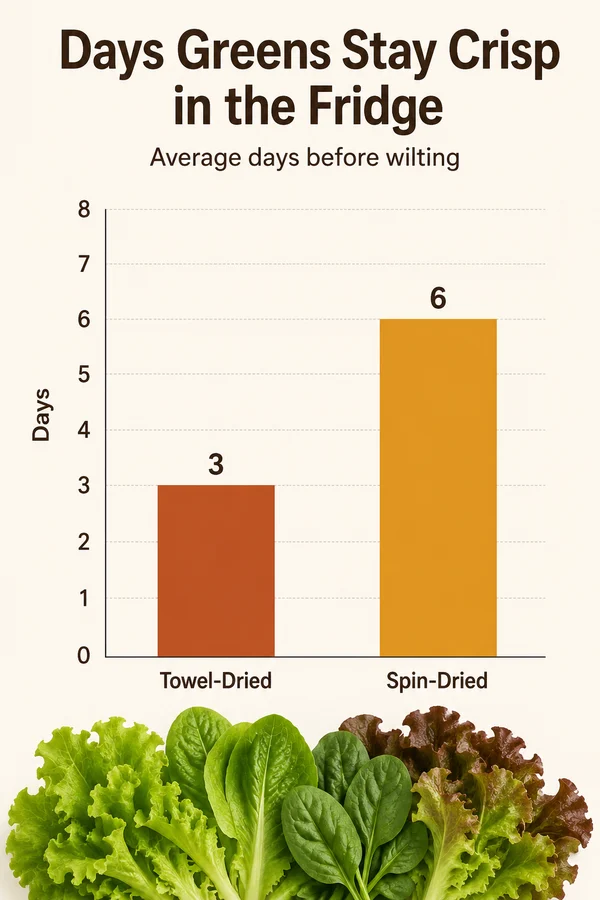
Stored this way in the fridge, sturdier greens like romaine and kale hold up well for most of a week. Delicate greens like spring mix and baby spinach are better used within three or four days, they just don't have the structure to stay crisp as long no matter how dry you get them. Either way, I don't dress or salt a salad until I'm ready to eat it. Salt pulls water out of a leaf on contact, and dressing does the same thing more slowly, so a pre-dressed salad sitting in the fridge is undoing all the drying work from the spinner within the hour.
I also keep the spinner bowl itself out of the equation as long-term storage. It's tempting to just leave the dried greens in the bowl with the lid on since it's already sitting on the counter, but that bowl isn't built to seal the way a proper storage container is, and the basket holes that make spinning work also let air in and out freely, which speeds up wilting. Transferring to the paper-towel-lined container takes thirty extra seconds and the greens genuinely last longer for it.
What Else Helps
A spinner solves the wash-and-dry problem, but it doesn't replace everything in a produce routine. I still keep a stack of plain paper towels on hand for smaller jobs, patting down a single handful of herbs, or as a backup on days I'm washing too small a batch to bother filling the spinner bowl for. I laid out where each tool actually wins in this side-by-side comparison of spinning versus towel-drying, since for years I assumed the towel was fine for everything and the spinner only mattered for big batches, and that's not quite right either way.
A salad spinner also isn't a substitute for good storage habits once the greens are dry. The paper-towel-lined container matters as much as the spin itself, and so does not overbuying greens you won't get through in a week. No amount of drying technique saves a bag of spring mix that's been sitting in the crisper drawer for ten days.
The basket itself doubles as a colander for other quick jobs once you own one, rinsing berries, draining pasta for a cold salad, holding cherry tomatoes while you halve them so the juice stays contained. It's not why I bought it, but it's become one of the more used pieces in my kitchen for exactly that reason, it earns its cabinet space doing more than one job.
The towel method never failed because it was wrong, it failed because a towel can only ever get a leaf surface-dry, and surface-dry isn't the same as dry.
Five steps, one spinner, greens that actually stay crisp
None of this works without getting the water off the leaves properly first. That's the one job this spinner has to do, and it's the job it does well.
Amazon Check Today's Price on Amazon →